
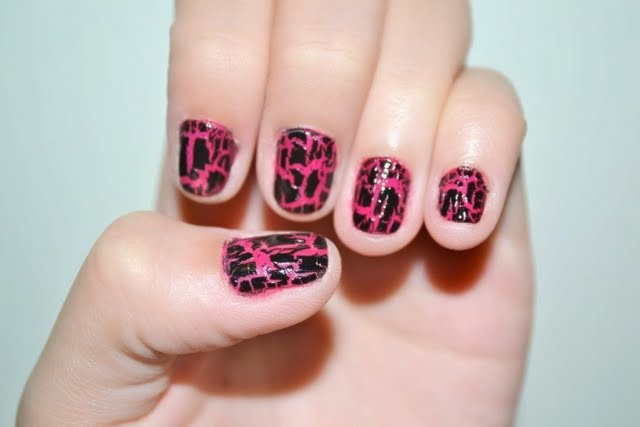
Recently the crack nails effect has been a trend. So I decided to try it out as well. To my surprise it’s rather simple to create the effect as results are proven to be fabulous too! I’m using The Face Shop black crack nail polish for RM 25.
Normally (most of the time) I do my nails at night as being a busy lady, that’s the only time I can spend some time to paint my nails while surfing the net and checking mails. With crack nail polish it’s pretty awesome, making my life easier.
I would say it’s best suited for the lazy or busy ones! All you have to do is just paint a layer over your usual colour and admire the magic taking effect as during the process of drying the black crack nail polish effortlessly cracking leaving a nice breakage showing the colour you painted on the first layer! It’s as if you’ve spent a good amount of time creating or drawing the patterns on your nails!
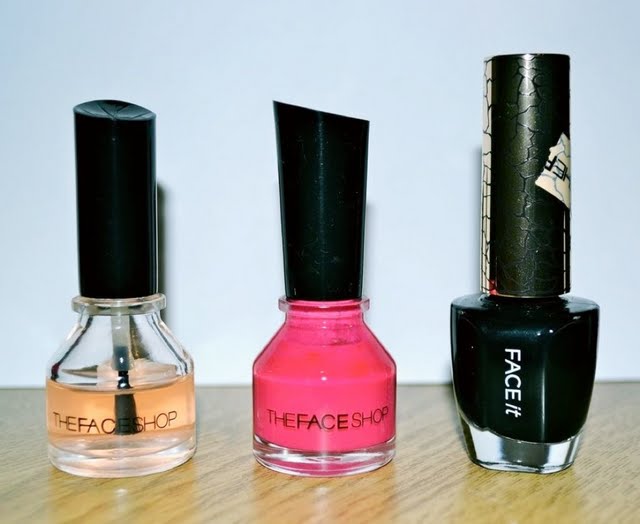
What you need is a base coat, a colour nail polish (prefeberly bright colours) and a black crack nail polish. I’m using all the products from The Face Shop here.
After trimming your nails and buffing them, push back your cuticles. Just like how any manicure begins. You may begin.
Steps to get your crack nails effect…
- Apply 1 layer of Base Coat, wait for it to dry about 2 minutes.
- Apply 1 layer of colour nail polish and after 5 – 10 minutes* or when it’s dry, apply another layer of colour nail polish to cover any spots that you may have missed and wait for it to dry completely about 15 – 20 minutes* depending on nail polish.
- Apply a layer of base coat over the color nail polish, let it dry for about 5 minutes or so.
- Apply the crack nail polish 1 layer will do and let the magic happens and wait for it to dry for a few minutes.
- Cover with another layer of base coat nail polish.
Really simple and you can even mix colours to have a better effect of the crack nails! Recommended colours for black crack nail polish are bright bold colours like pink, purple, yellow, orange, turquoise, ocean blue etc. Just a tip, Golden brown with black crack nails gives you the leopard prints effect, which is pretty cool! There’s no right or wrong how crack nails goes as it’s splits randomly so just be creative and experiment!
Leave a Reply